 Hey, hey! Grab a cup of coffee and get comfy. This blog is where I share my loves, my joys, my struggles, and everything in between. We are a
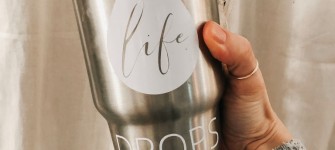
Water. One of my goals this year is to consistently drink more water. Water is important because it helps flush (haha) waste from our bodies. I’m currently doing a mild cleanse, and the water intake recommended to make sure everything stays running smoothly is 96 oz a day! I had been trying to get half […]